SST Setup Procedure

Follow the steps below to ensure a successful solar security trailer install.

solar-security-trailer-starcomm-short-mast

Items Included with SST​

sst-procedure-1

1.

Insert Wheel Chocks to prevent trailer from moving unexpectedly. 

sst-procedure-3

2.

Remove pins in all for Outrigger to slide outrigger out to location. 

3.

Reinstall pins in all outriggers. 

sst-procedure-6

4.

Remove pin in outrigger jack to lower outrigger leg to ground.

sst-procedure-7

5.

Replace the pin in the closest slot. The leg might need to be lifted slightly for holes to align. 

sst-procedure-8

6.

Repeat step for all outrigger.

sst-procedure-9

7.

Crank outrigger handles clockwise until jack foot is firmly on the ground. 

Once all 4 outriggers are firmly on the ground, use the 2-axis level on the front passenger side of trailer to level SST.

sst-procedure-10

8.

There are 2 locking pin on each side of the trailer that are locked to secure the lower 2 solar panels for transit. These need to be released to unlock solar panels to slide out into the operating position.

Once released you can push the solar panel underneath to come out on the opposite side of the trailer. 

Once fully extended, ensure locking pins are engaged to secure panel does not move.

9.

Place carabiner on guy wire loop.

Install carabiners on three (3) steel loops on mast under the camera enclosure.

Close carabiner nut to secure carabiner to look on mast. 

Raise mast to desired height to provide optimal view for environment. 

10.

Hardware needed to complete the Guy Wire installation

Run the guy wire through the loop in the turnbuckle.

Run the guy wire back along itself and install wire rope clamp. DO NOT TIGHTEN YET.

Install the turnbuckle on the loop on the outrigger.

With the loose end of the guy wire, pull tight.

Once you have tension on the guy wire going up to the mast, tighten down the wire rope clip down to hold tension on guy wire.

11.

Use previous steps on all 3 guy wires. 

Tighten all 3 turnbuckles evenly to ensure tension on guy wires. 

Roll up loose end of guy wire and zip tie to itself. 

12.

Inside the driver’s side trailer door, there is a Power Control Box (PCB).​

Ensure all breakers are in the “ON” position.

sst-procedure-29

13.

Once all breakers are turned on, you should notice the cameras start to spin as they boot up. If you do not see the cameras moving for about 15 seconds, ensure that all breakers are switched to the ON position in the server enclosure on the passenger’s side. ​

After about 5-10 mins you should be able to see the cameras online in the platform if the specific asset has been added to your account. The asset number is on an orange label on the front of the trailer. (Asset 51051 below)​

If you are not able to see the cameras online in the portal, please contact StarComm Support at [email protected] or by phone at 833-247-2666​

sst-procedure-31
sst-procedure-32

14. Rig Down

To rig down the SSTs, you will want to turn off the “LOAD” breaker ONLY. It is located in the power enclosure on the driver’s side of the trailer. It will be the breaker all the way to the right. It will have a label “LD” or “Load”.​

sst-procedure-33

14. Rig Down (Cont.)

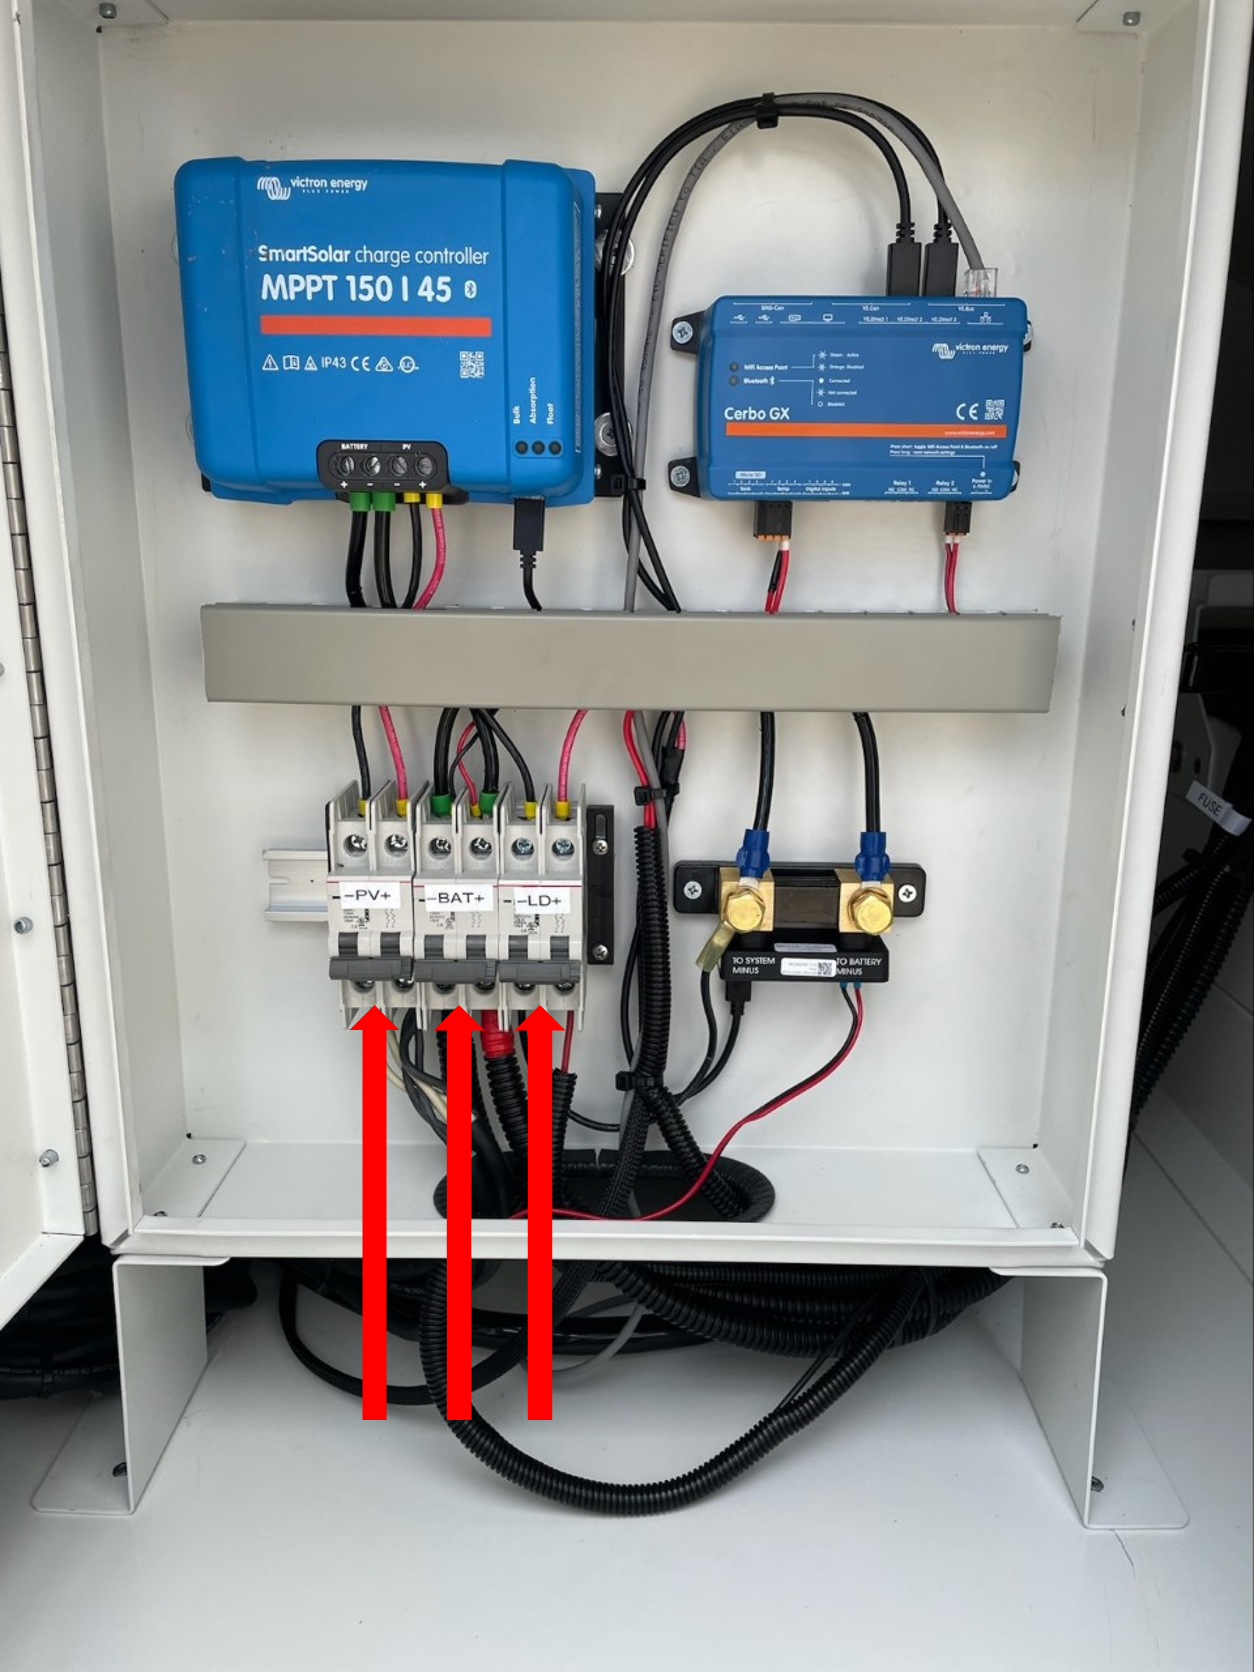
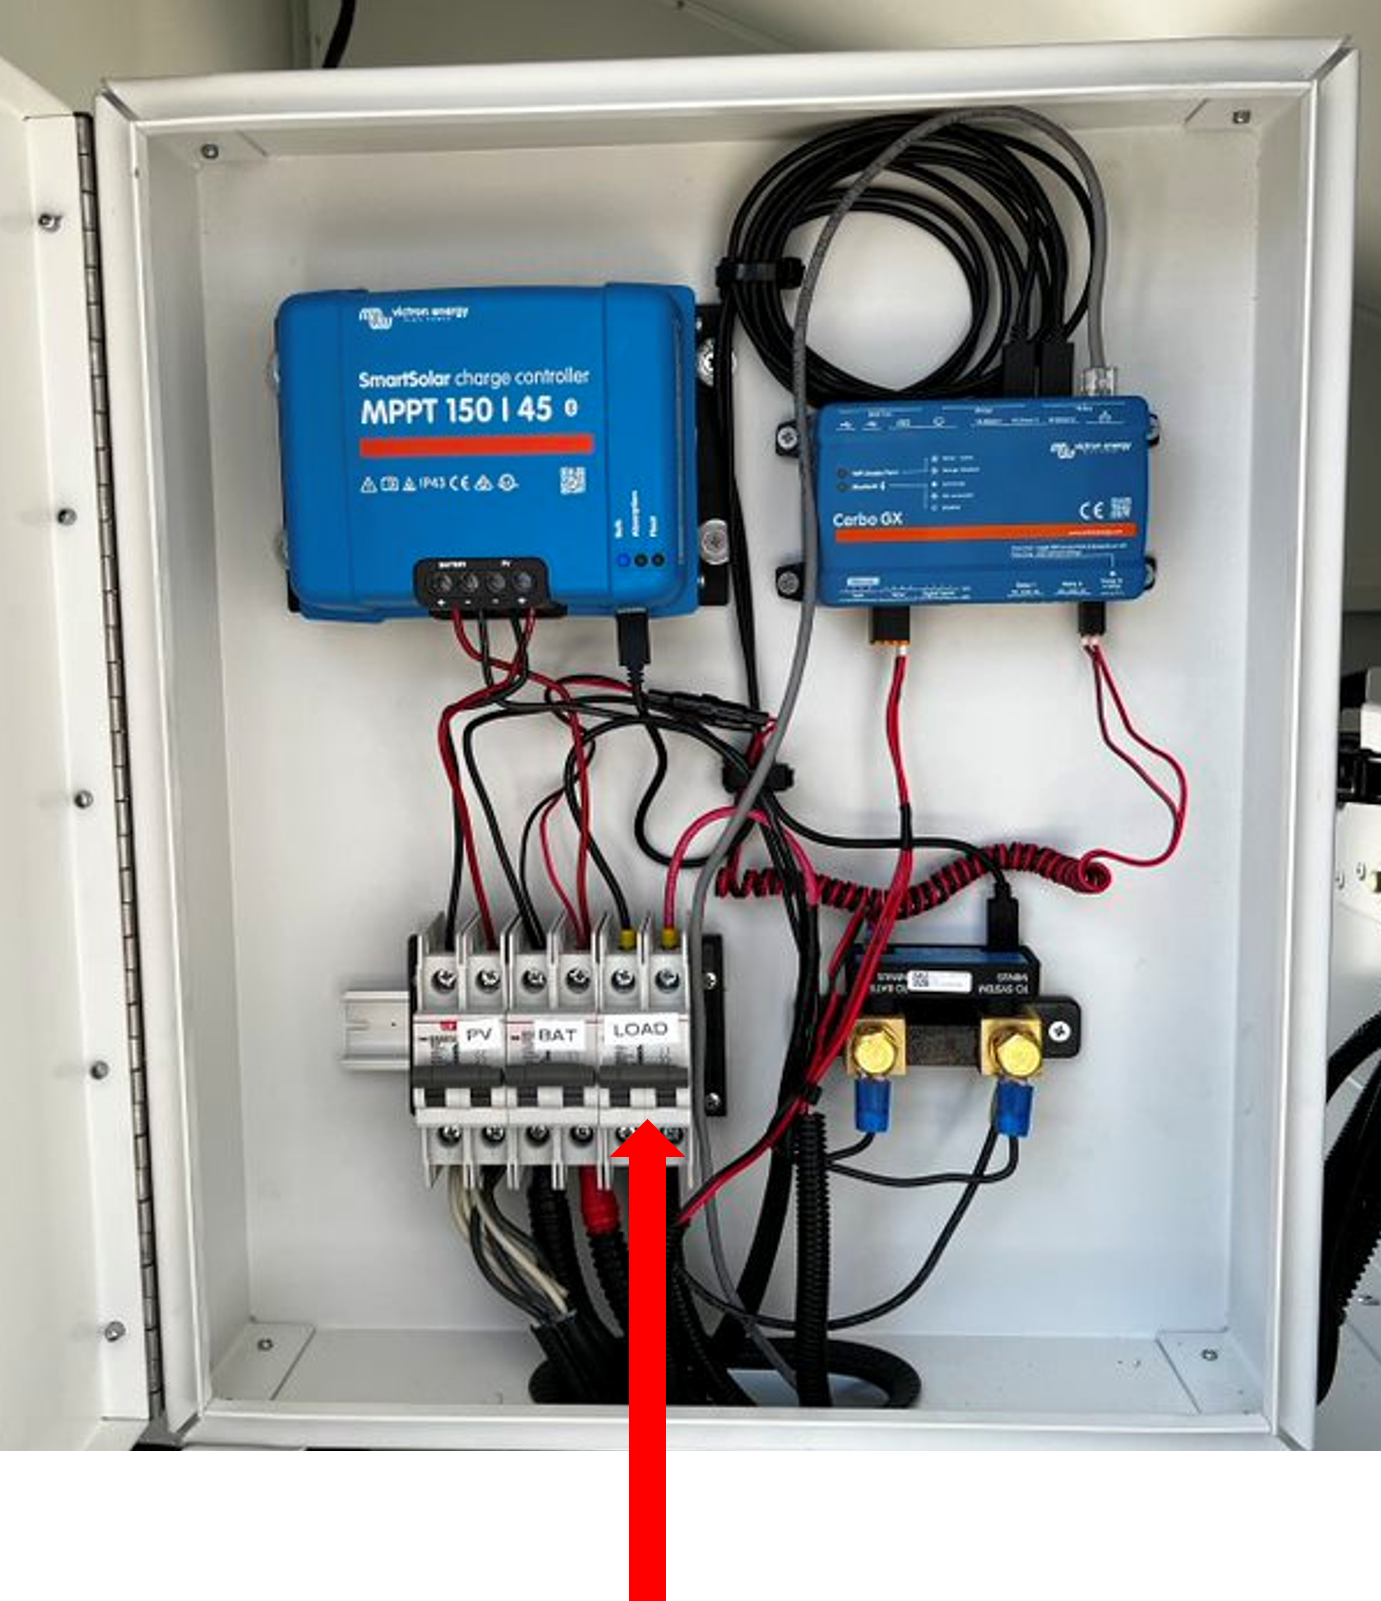
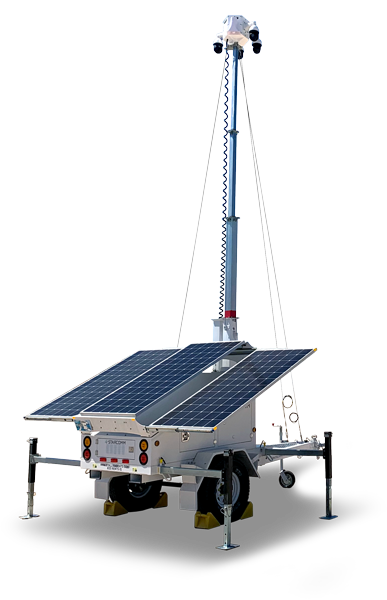
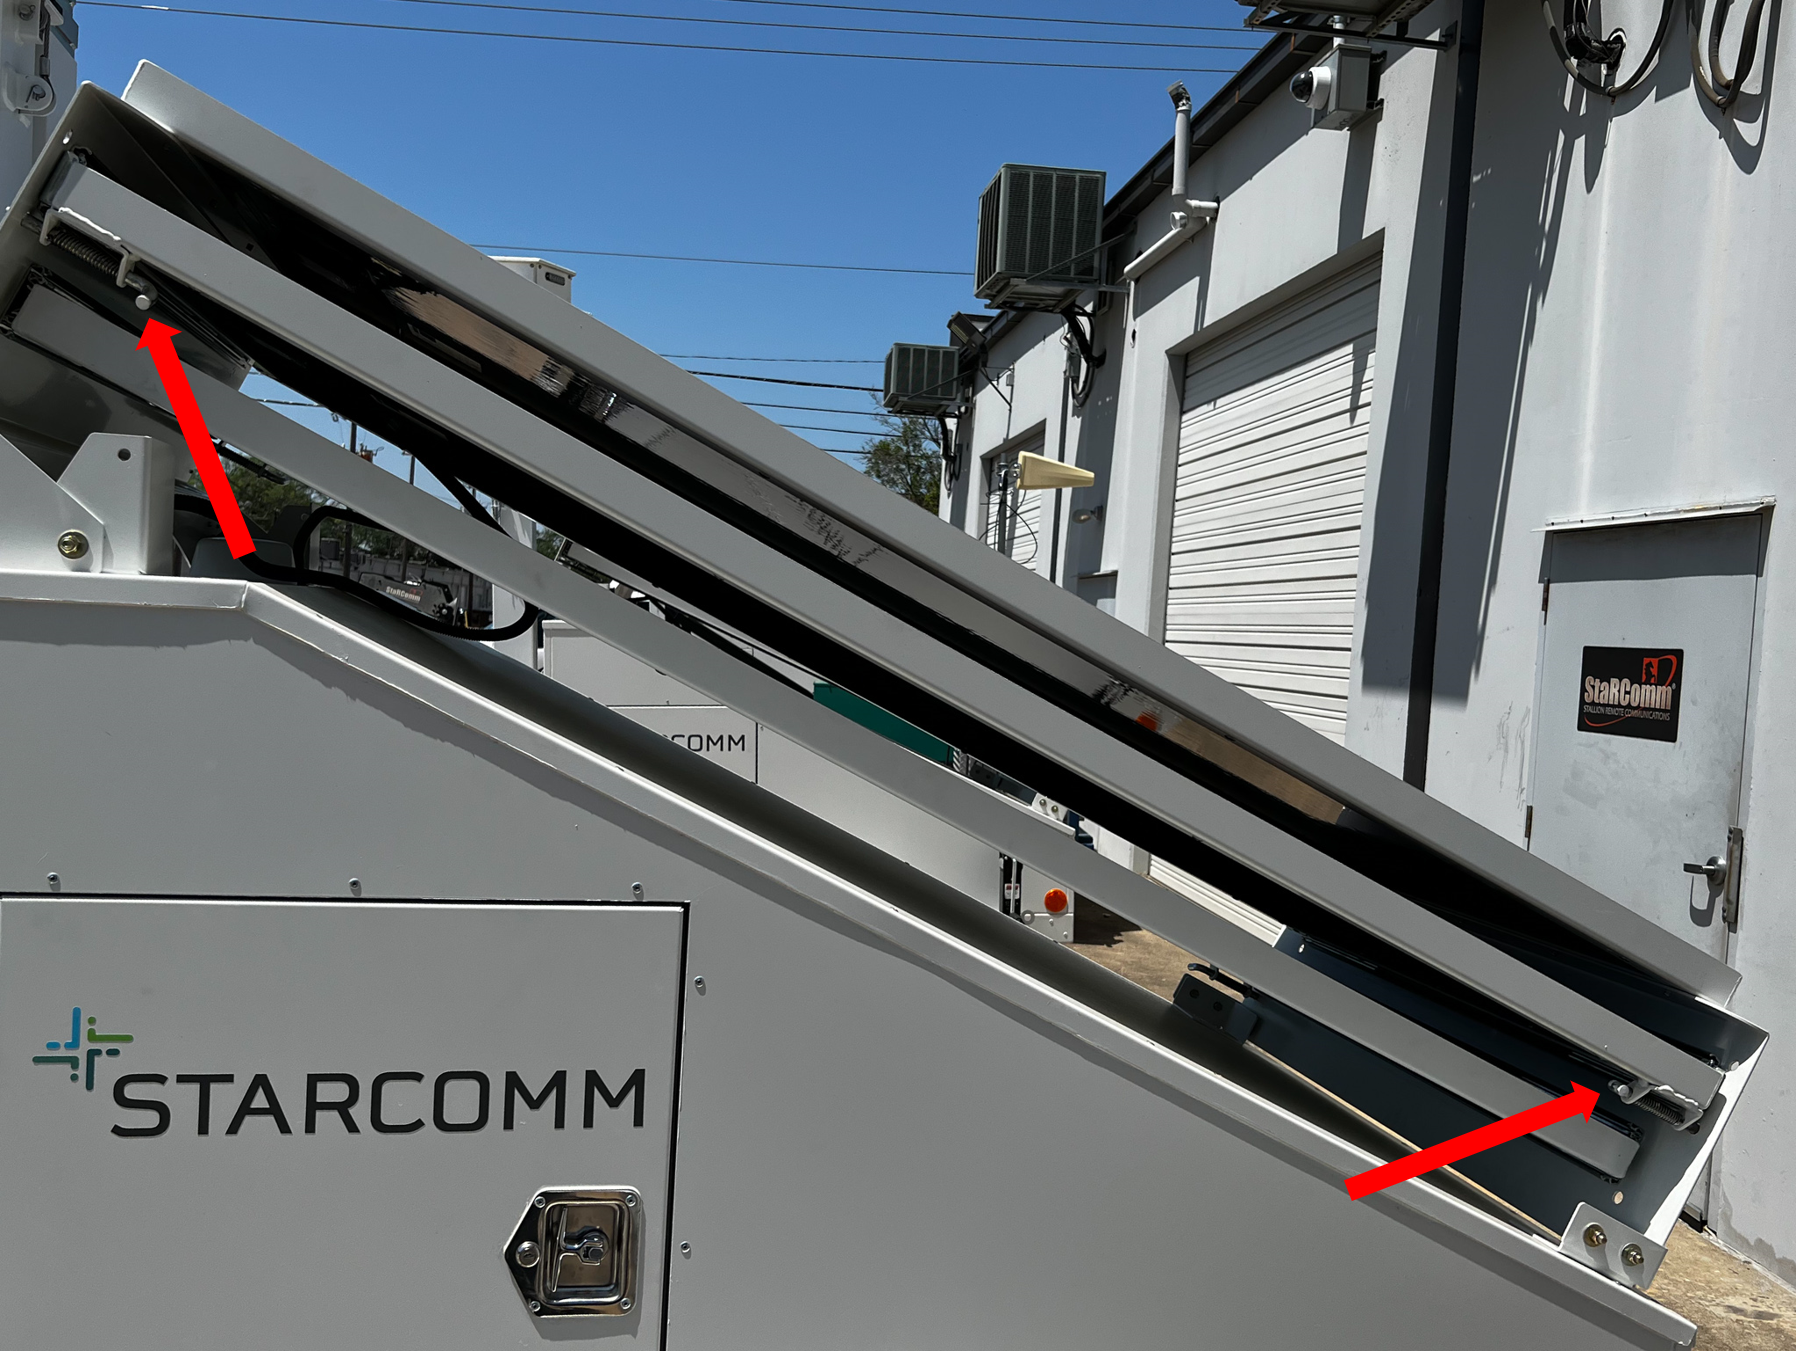
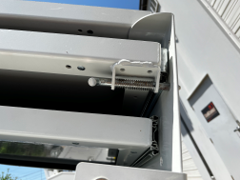
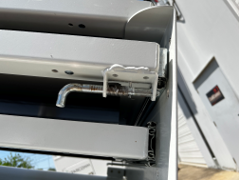
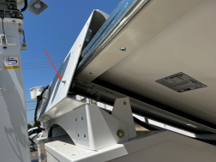
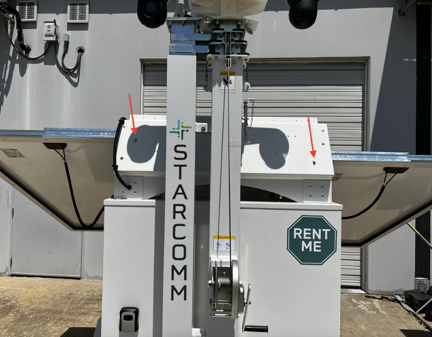
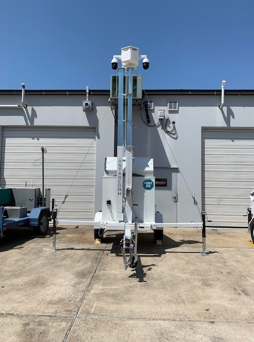
Once you turn off the load breaker, you want to slide the solar panels that are extended out back under the center solar panel. Ensure the pins lock once stowed. ​

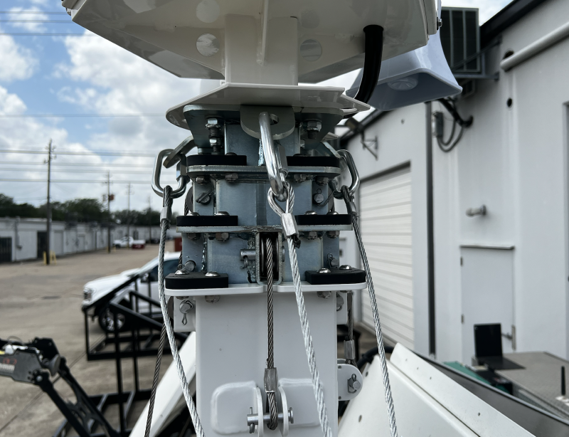
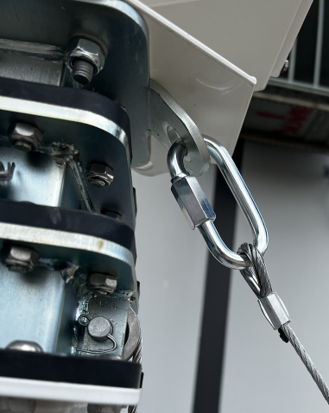
Next you will need to lower the mast down until it is fully collapsed. Make sure to keep a slight tension on the winch cable. This will prevent the cable from getting misaligned in the winch and prevent mast damage during transit. ​

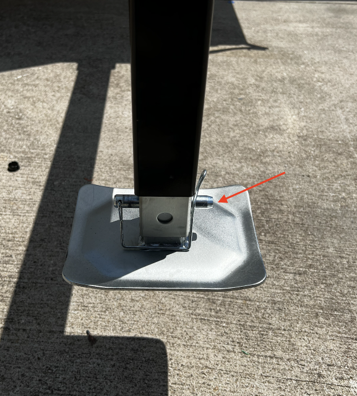
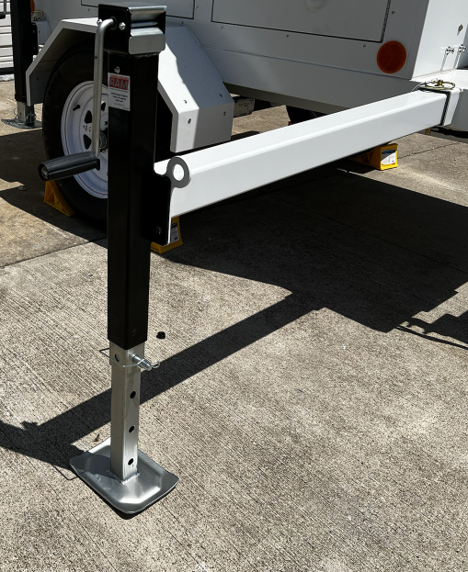
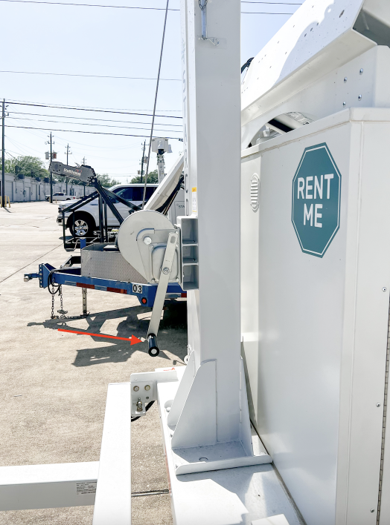
Next, you will need to raise the outrigger jacks all the way until they are fully stowed like the picture here. ​

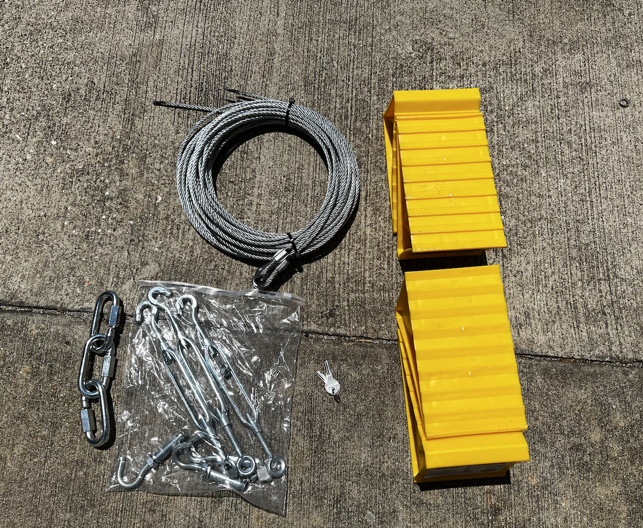
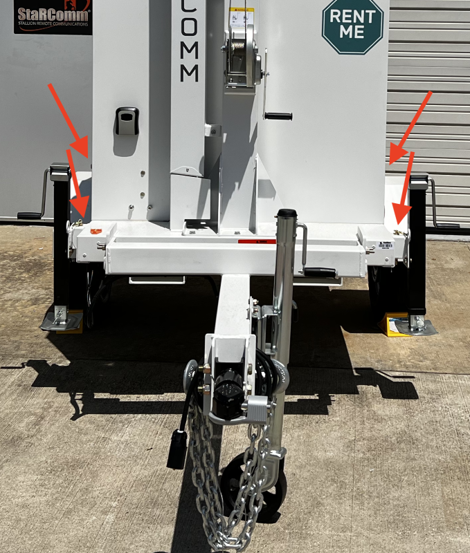
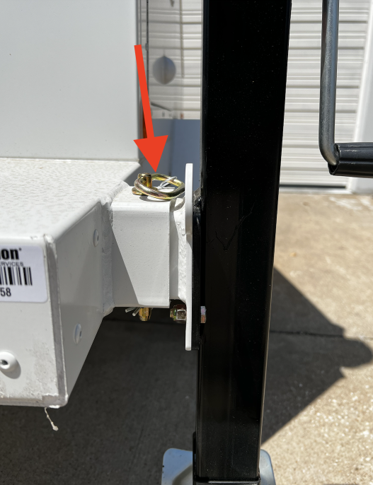
Next, you will need to slide the outriggers back into the trailer and pin them with the pin and clip provided. (If outrigger were extended during the setup.)​

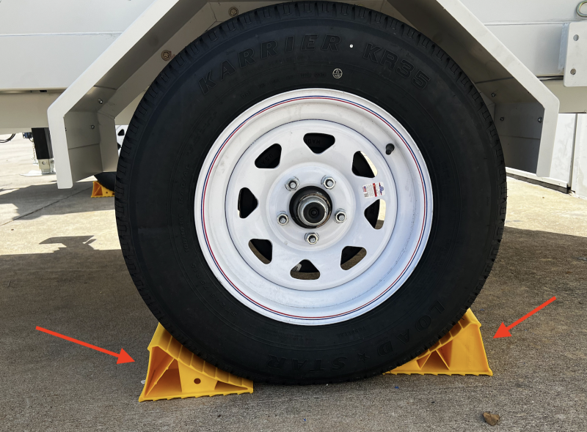
Next, make sure all wheel chocks are removed from under wheels and placed back into the trailer. ​

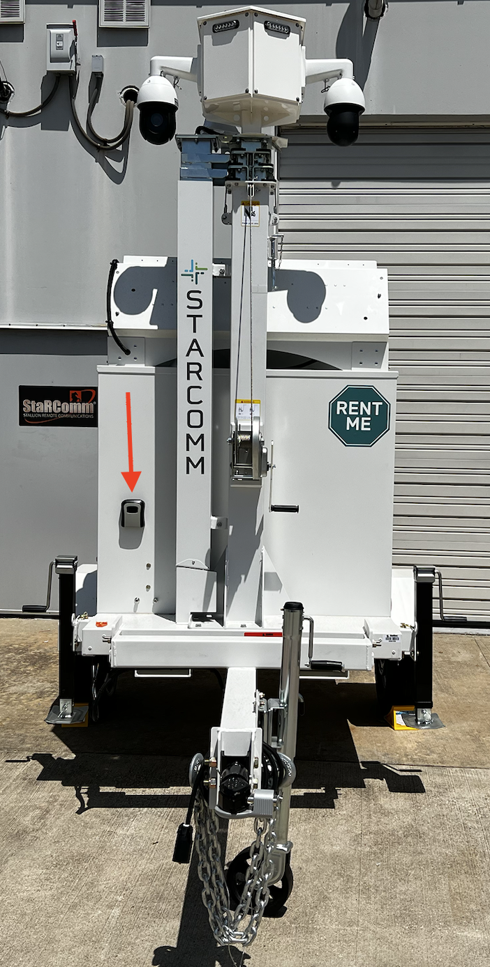
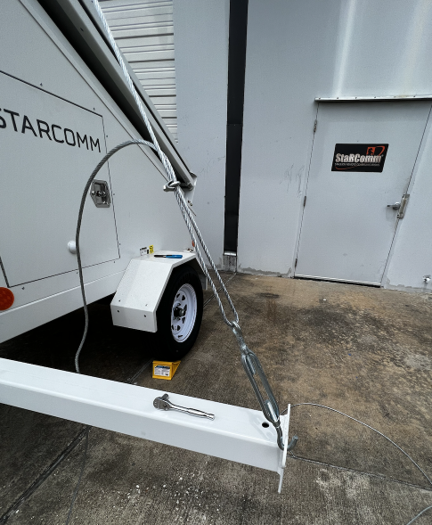
All that is left to do is make sure the ball lock is removed with the Masterlock key that is located in the lock box on the front of the trailer.

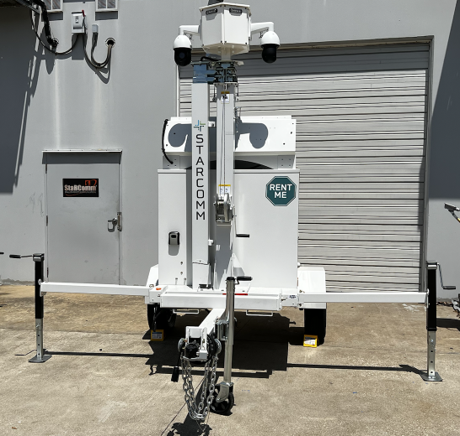
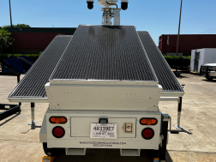
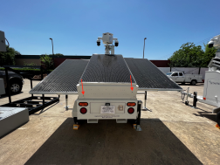
Before pulling the trailer, take a second look to ensure the panels are and outriggers are stowed and locked for travel. ​

sst-procedure-34